Blossom Valley Detailing: Professional Glass Cleaning Techniques

Hello Blossom Valley Family,
Welcome to another edition of our weekly newsletter! This week, we're diving into the art and science of professional vehicle glass cleaning. Clear, streak-free windows are essential not only for aesthetics but also for safety. Here’s a step-by-step guide to help you achieve that professional sparkle.
Step 1: Gather Your Tools and Materials
Before you begin, make sure you have the following:
- High-quality glass cleaner (preferably ammonia-free)
- Two microfiber cloths (one for cleaning and one for drying)
- A soft-bristle brush or an old toothbrush
- A Mr. Clean Magic Eraser
- Deionized water
Step 2: Initial Inspection
Start with a thorough inspection of your vehicle’s glass surfaces. Look for stubborn spots like bird droppings, tree sap, or other contaminants. These need special attention before general cleaning.
Step 3: Pre-Clean the Glass
For heavily soiled windows, it's a good idea to pre-clean. Use a soft-bristle brush or an old toothbrush to gently scrub away any debris from the corners and edges of the glass. This ensures that no dirt gets dragged across the surface during the main cleaning, which could cause scratches.
Step 4: Apply the Glass Cleaner
Spray your glass cleaner generously onto the window. Avoid cleaning in direct sunlight, as this can cause the cleaner to evaporate too quickly and leave streaks.
Step 5: Use the Mr. Clean Magic Eraser
Dampen the Mr. Clean Magic Eraser with deionized water and gently scrub the glass. The eraser helps to remove any stubborn spots or residues that the cleaner might miss. Be sure to rinse the eraser frequently in clean deionized water to avoid reapplying dirt to the glass.
Step 6: Wipe and Dry
Using a clean microfiber cloth, wipe the glass in a vertical motion. Flip the cloth frequently to ensure you're always using a clean side. Once the entire window has been wiped down, use the second microfiber cloth to dry and buff the surface. This step is crucial for achieving a streak-free finish.
Step 7: Final Touches
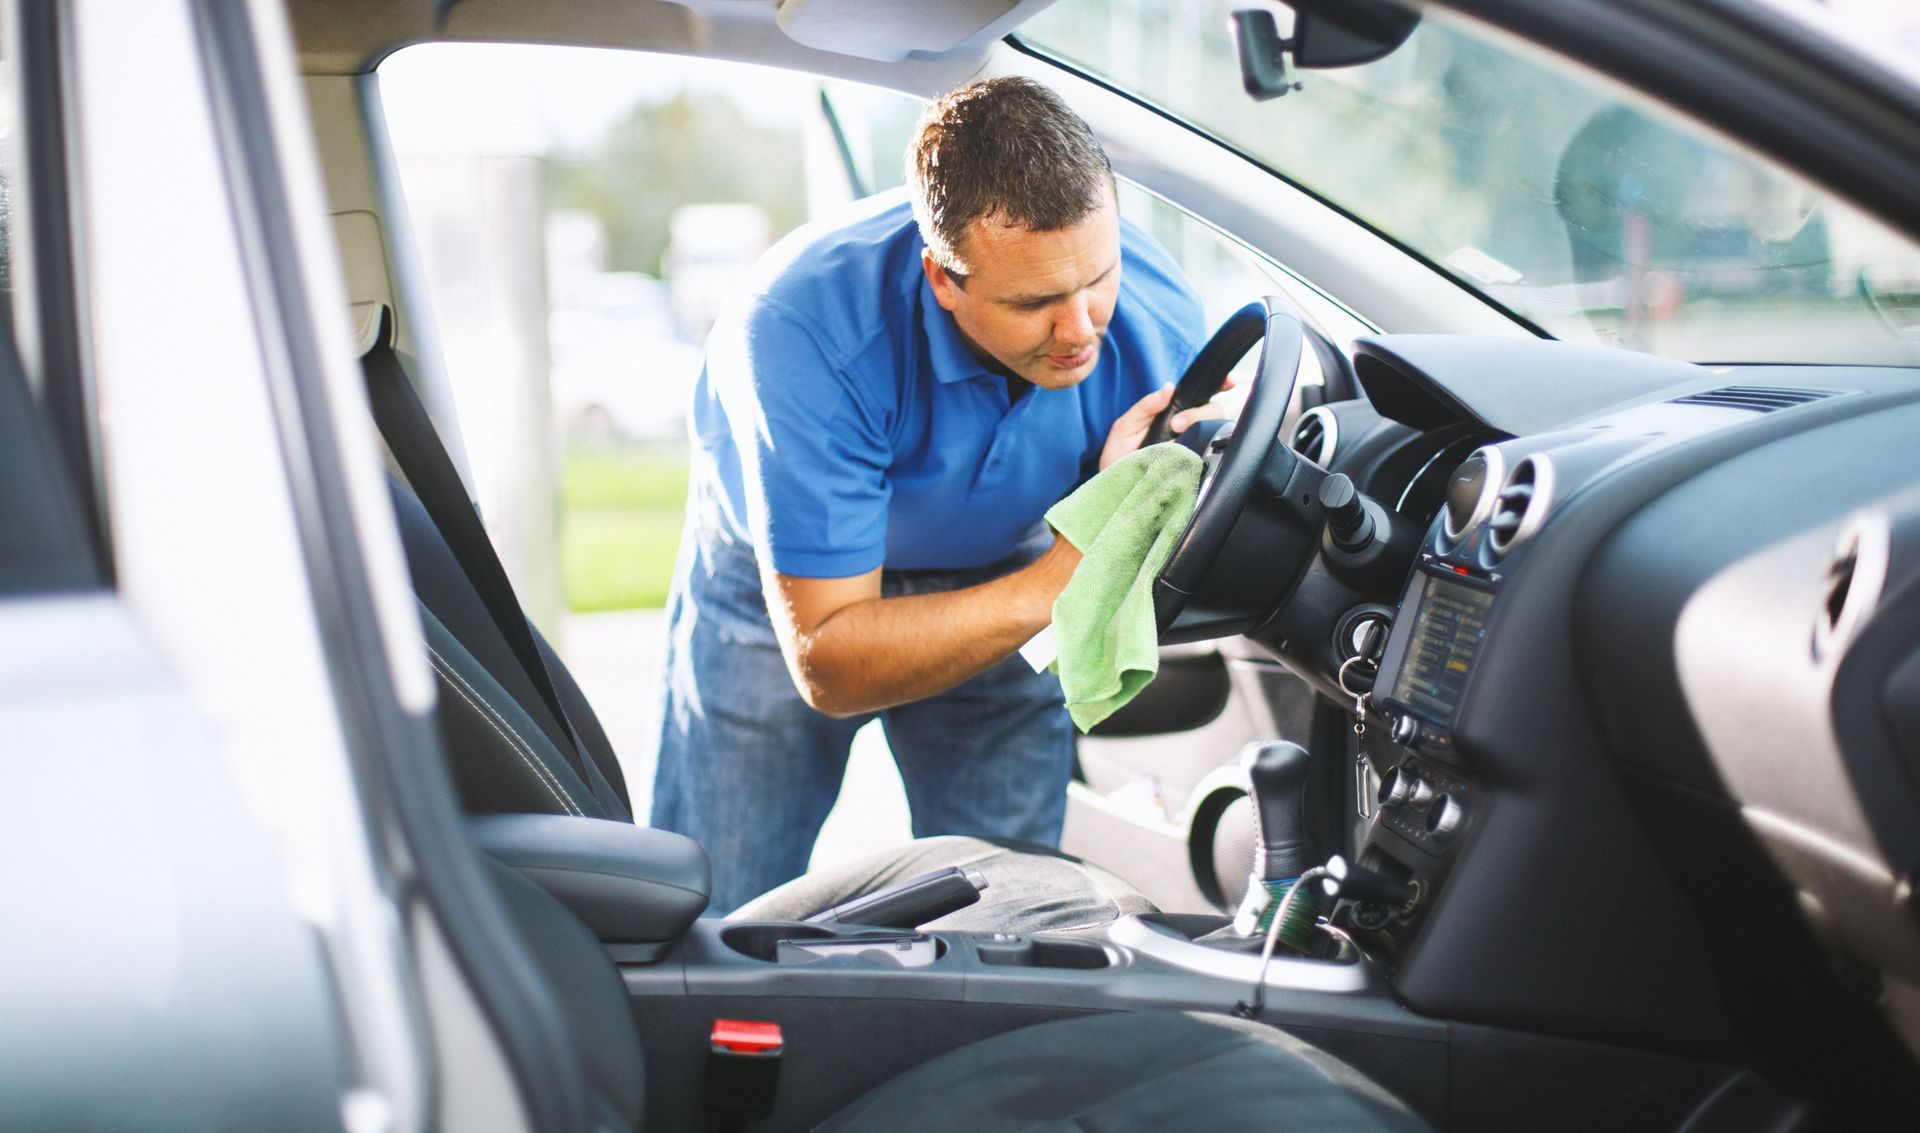
After cleaning the exterior, repeat the process on the interior glass. Interior windows can often be neglected, but they are equally important for visibility and overall appearance. Pay special attention to the windshield and rear window, as these are critical for driver visibility.
Pro Tips for Perfection
1. **Use Deionized Water:**
Deionized water prevents mineral deposits on the glass, ensuring a spotless finish.
2. **Clean in the Shade:**
Direct sunlight can cause cleaners to dry too quickly, leading to streaks. Choose a shaded area for the best results.
3. **Buff with a Clean Cloth:**
Always use a separate, clean microfiber cloth for the final buffing to ensure no residues are left behind.
The Benefits of Professional Glass Cleaning
**Improved Visibility:**
Clear windows ensure better visibility, which enhances driving safety.
**Enhanced Appearance:**
Sparkling windows contribute to the overall polished look of your vehicle.
**Longevity of Glass:**
Regular cleaning prevents the buildup of contaminants that can damage the glass over time.
We hope this guide helps you achieve that crystal-clear finish on your vehicle’s glass. Remember, at Blossom Valley Detailing, we’re always here to help you with professional advice and top-notch detailing services.
Drive safe and keep shining!
Best Regards,
The Blossom Valley Detailing Team
